FLY OF THE MONTH CONTEST
JULY 2011
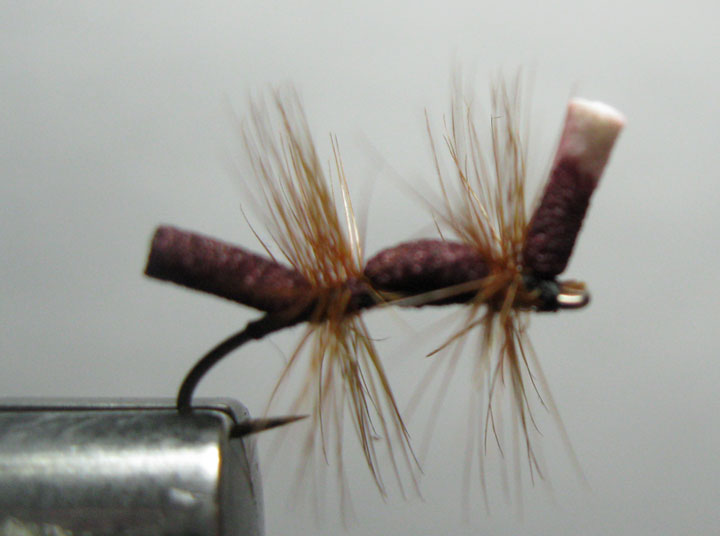
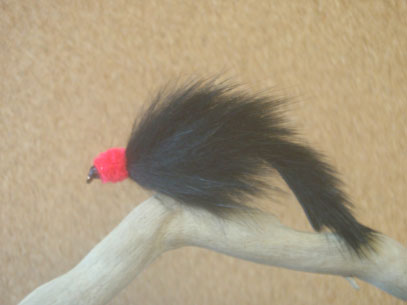
TOOTSIE ROLL
That’s right you read it correctly, tootsie roll. No not the thing, just an ant pattern that looks a little like it. But don’t eat them, they have a very sharp bite to them. Let the fish have at it for a tasty treat. Try tying them in red and black also. Try fishing them when a hatch of another insect is so plentiful that tossing them an ant may get you a large fish, because it’s something different.
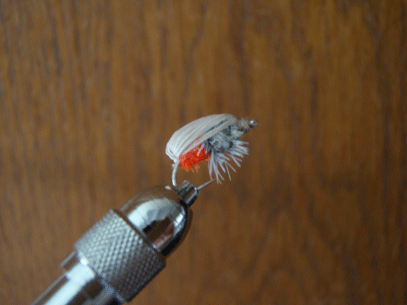
Pattern
Hook - #12-#18 standard dry-fly
Thread - Black 6/0
Body - Cinnamon ant body (foam cylinder) with white tip. (3/32” or 1/16” diameter) can use white cylinder and color it with a brown sharpie pen, but it gets messy.
Hackle- Brown
HOW TO TIE
- De-barb hook - tie thread in right behind eye, then lay a tight thread base to the end of the shank. Clip tag end.
- Tie in the foam cylinder just in front of the bend of the hook, make a small segmentation. Leave about a hook gap size of foam cylinder in the front with the white tip and the same size in the rear.
- Tie in feather sized to hook gap with concave side facing away from you on top of thread. Then wrap 2-3 wraps. Tie off-clip tag end.
- Bring thread under foam and wrap forward to about 3 or four eyelets from eye and tie down the foam again. Tie in another feather the same way and wrap forward again and tie off-clip tag end.
- Whip finish-put a very small dab of head cement and you’re done.
Tie up a couple and bring your best one to the next meeting.
If you tie this fly then fish it, please give me some feedback on how well it worked for you. Or for any other questions, please contact me.
CARL WUEBBEN >)))))))(‘>