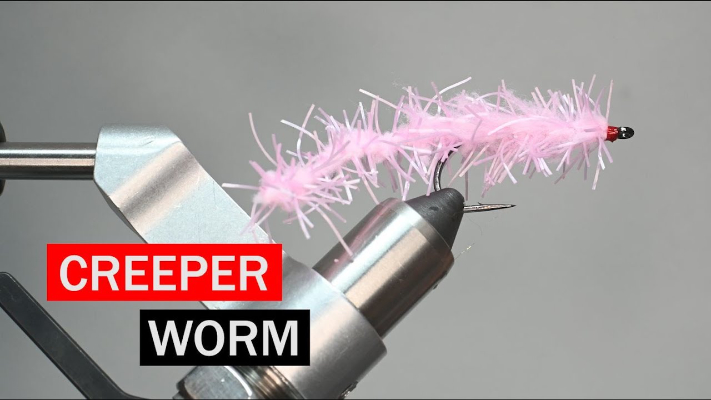
Creeper Worm
Svend diesel.com
Translated by Carl WuebbenI love taking a new material and using it on old patterns. A worm is nothing new to fishing or fly tying but with this fly you may learn a new trick of using chenille to make a nice wiggly tail. The variation using this material is as endless as one could imagine, but keeping worms simple is something we all believe is best. Try adding weight like a bead head or lead wire under the chenille even dumbbell eyes. Try a collar of ice dubbing or even a hot spot collar of thread. This fly can be used for trout, bass and even carp. Try it on a salt water hook and give it a try also.
PATTERN
THREAD – Semperfli wax thread 8/0 (70 denier) in red or equivalent
TAIL/BODY – FNF creeper chenille in marshmallow pink (can get at bob Marriott’s in Fullerton)
CEMENT – Bone dry thin resin or equivalent.
HOW TO TIE
- Put weight on hook if using - mount hook in vise – start your thread in right behind the hook eye and lay a thread base to the bend of the hook and clip tour tag end of thread off.
- Grab your creeper chenille and tie in where your thread is now and by the tip with the bulk of the bunch hanging rearward, secure it firmly. Now measure out the tail by doubling over the chenille rearward to about two times the hook shank length or to what you want but not too long as the fish may just short strike it and not take the hook. Cut the chenille about ¾ of the hook shank longer than the tail section.
- Now it’s time for furling the chenille directly to the hook. Hold the tip of the chenille and using both hands twist it till it’s tight and wants to twist on its self. If you don’t twist enough it will be loose and bulkier. Once your satisfied with the quality of twists and diameter of the material, fold the material back toward the original tie in position. Reposition the hand nearest the hook shank, so that your thumb and forefinger pinch the material on top of the hook shank. With the other hand holding the tail, give it a slight twist as you slowly let go of it and it should twist on its self-forming the tail. Now hold the tail at the base and secure it on the hook and wrap it down good.
- Grab your bag of chenille again and tie some on by the tip, at the base of the tail and bring your thread forward to behind the eye –put a half hitch on and put your thread in your bobbin rest. Put some zap a gap or super glue on the hook shank to make the body more durable. Wrap the chenille forward with close wraps and try not to get the rubber leg pieces on the glue, push rearward on the chenille wraps as you go and end behind the eye about on eyelet from it for the small head. Tie off and clip your tag end off.
- Pull back any parts going forward and put some thread wraps down to hold them rearward. Use the thread to make a nice thread head or even use another color thread for a hot spot. Clip your thread, add some UV glue and cure it maybe even two coats, brush out the body with a soft bristle brush and not a metal one as it will tear up the chenille body.
TIE UP A DOZEN OR TWO – AND GO FISHING*** But remember to practice C.P.R. (CATCH – PICTURE – RELEASE)


